This post shows you the 20 minutes speed cleaning routine that you can adopt to transform your space quickly.
Life is busy, and sometimes cleaning your home can feel like a never-ending task. Whether you’ve had a long day at work, spent your afternoon chasing after the kids, or simply want to unwind, the thought of tackling an entire home’s worth of mess can be overwhelming.
But here’s the good news: You don’t have to spend hours cleaning to see results! A quick 20-minute speed cleaning session can do wonders to freshen up your space and make your home feel clean and organized.
If you’ve ever found yourself with a guest on the way or just want a quick reset before settling in, this simple 20-minute routine is your secret weapon.
In this post, I’ll share a breakdown of an efficient speed cleaning routine that will transform your entire home in just 20 minutes.
It’s all about focusing on the areas that make the biggest impact, so you can enjoy a cleaner space without spending your entire evening scrubbing away.
The 20-Minute Speed Cleaning Routine to Transform Your Entire Home
Step 1: Start with a Quick Declutter (3 minutes)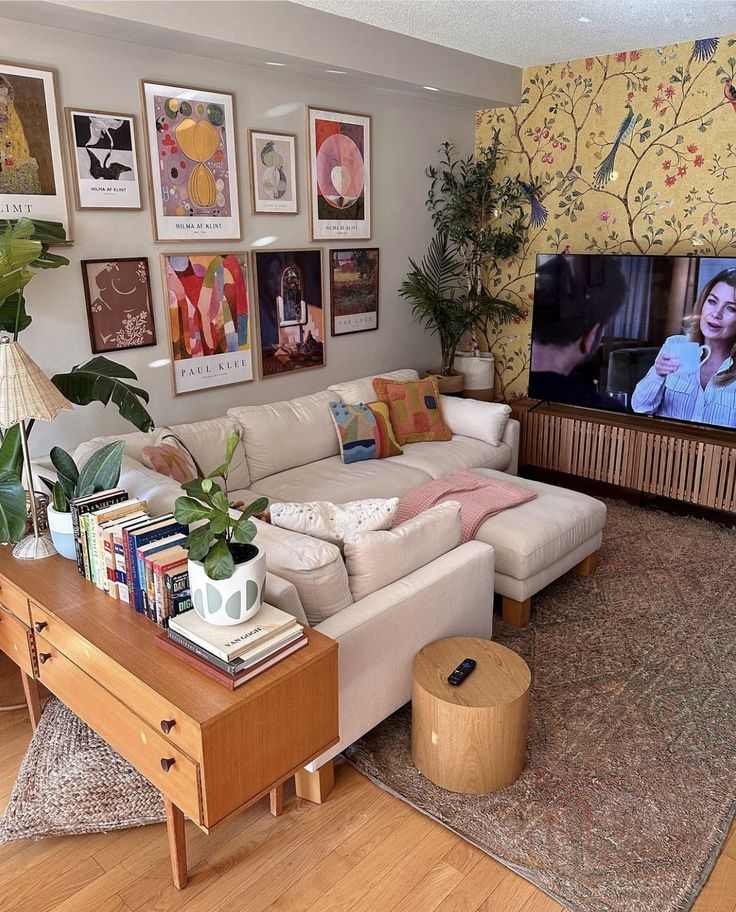
Decluttering is the first step in any cleaning routine because it clears the way for deeper cleaning. When clutter is everywhere, it’s hard to truly clean.
Start by gathering all the items lying around that don’t belong in the room. Think shoes, books, papers, or any random items scattered across tables, counters, or the floor.
Put them in a basket or a box to deal with later. This step is all about clearing off surfaces to give the illusion of a tidy home instantly. You’ll be amazed at how much cleaner the room will look without all that extra stuff lying around.
Tip: If you’re really pressed for time, skip sorting through items and just collect them into a basket. You can always take a few minutes later to properly put things away.
Step 2: Focus on High-Traffic Areas (4 minutes)
Now that your space is cleared of clutter, let’s tackle the areas that get the most attention — high-traffic spots! This typically includes the entryway, living room, kitchen counters, and bathrooms.
These are the areas where people are most likely to see your home in its current state, so it’s worth spending a few minutes making them look presentable.
- Living Room:
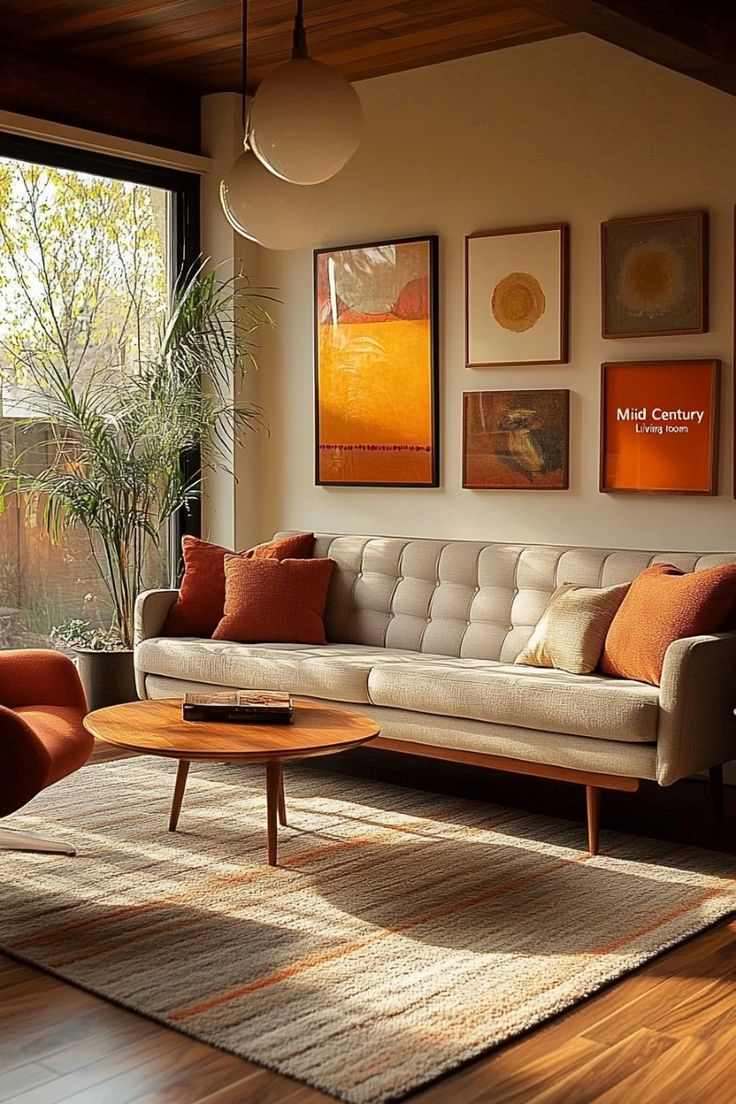
Straighten cushions, fluff pillows, and quickly wipe down surfaces. Wipe down coffee tables, TV stands, and entertainment centers. A quick swipe with a microfiber cloth can remove dust and fingerprints.
- Kitchen:
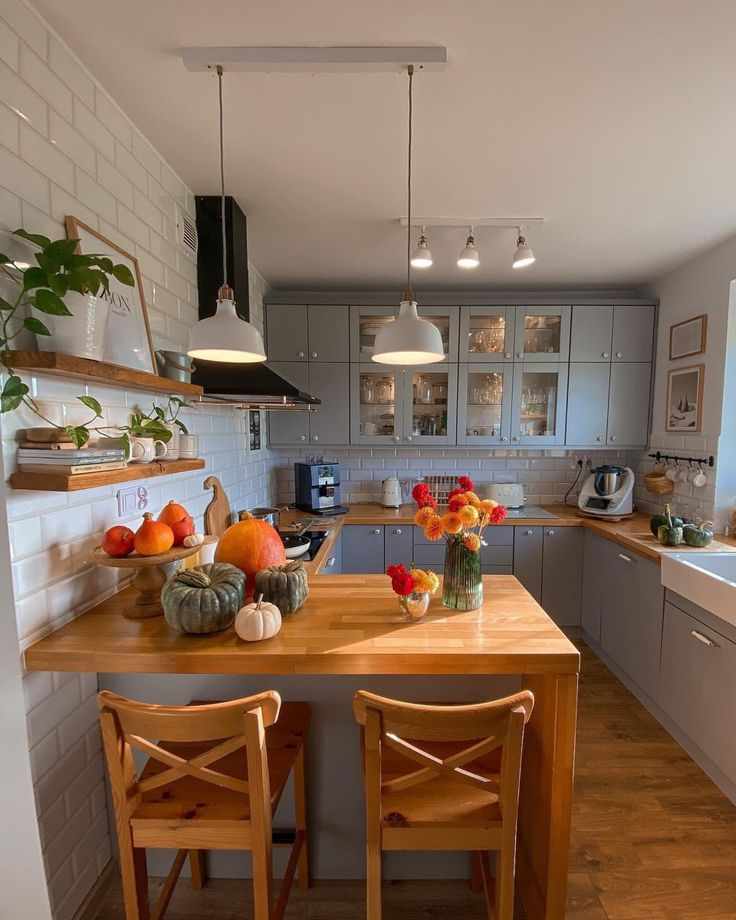
Wipe down the kitchen counters, sink, and stovetop. If you have dirty dishes, stack them neatly and toss any food wrappers or empty containers into the trash.
- Bathrooms:
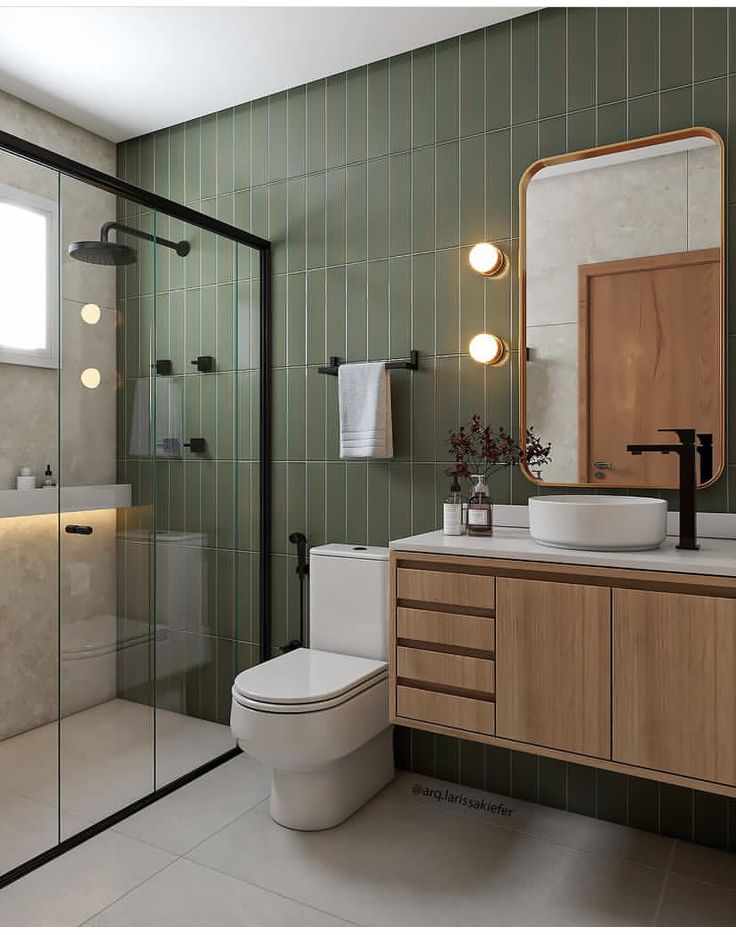
Wipe down bathroom sinks, counters, and the toilet seat. A quick swish around the sink can work wonders in making the bathroom look cleaner. If you have a shower curtain, pull it back to give the illusion of a fresh space.
Tip: Having all-purpose cleaning wipes nearby is a game-changer in these areas. They allow you to wipe surfaces quickly without needing to grab multiple cleaning supplies.
Step 3: Dusting and Quick Surface Cleaning (4 minutes)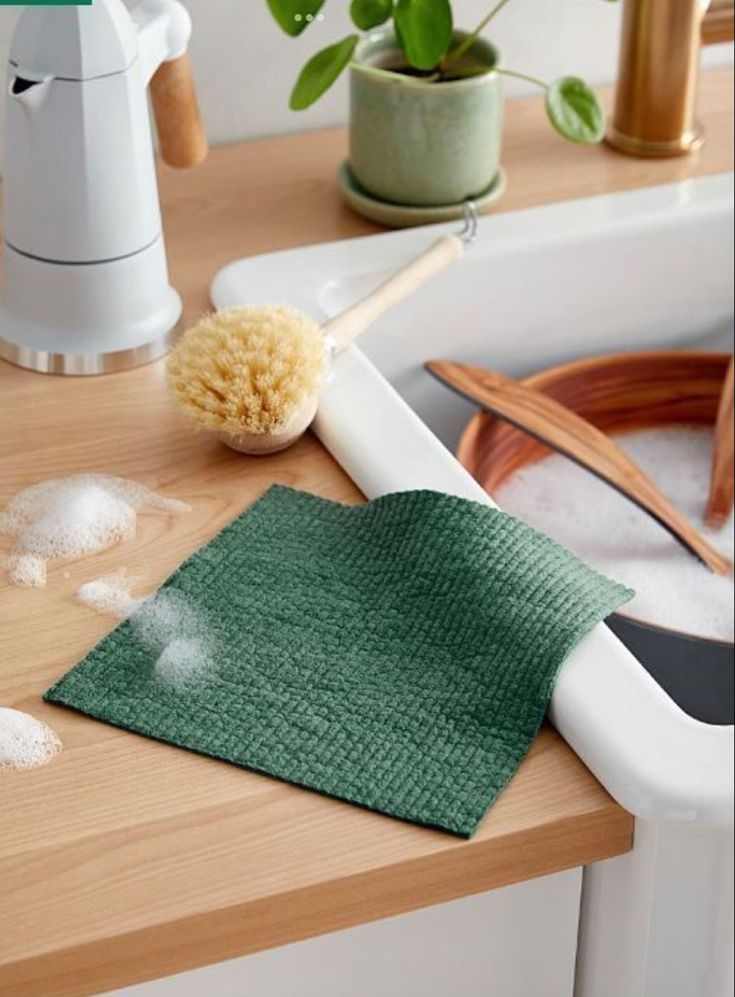
Once you’ve tackled the high-traffic areas, it’s time to get rid of the dust. Dust can accumulate quickly and make a clean room look messy. Grab a microfiber cloth or duster, and quickly move around your home, focusing on the most obvious areas that collect dust, such as:
- Furniture tops and shelves
- Light fixtures and lamps
- Window sills and baseboards
- Electronics like TV screens, remotes, and phone chargers
While you’re dusting, take a second to wipe down any smudges on windows, mirrors, or glass surfaces. Dusting and cleaning glass will instantly brighten up the room.
Tip: Dusting before vacuuming ensures that you aren’t just moving dust and dirt around the floor.
Step 4: Vacuum or Sweep the Floors (5 minutes)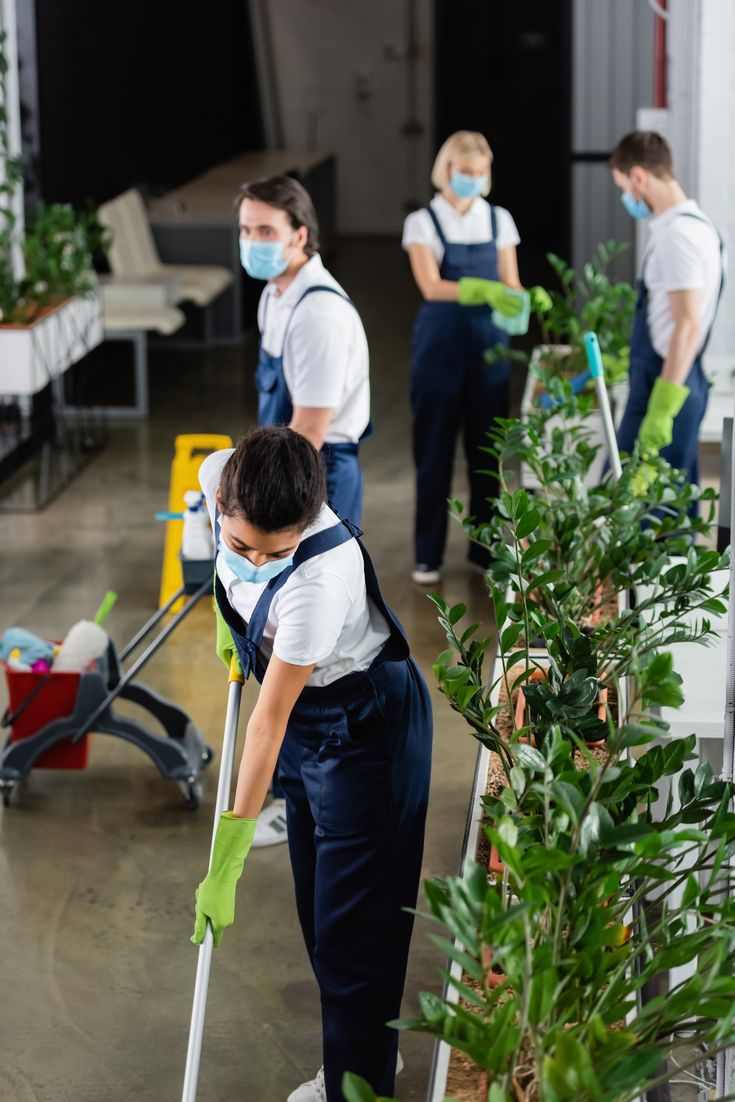
Now that the surfaces are clean, let’s get to the floors! Depending on the type of flooring in your home, you may need to either vacuum or sweep. Focus on high-traffic areas like the entryway, living room, and kitchen where crumbs, dirt, and dust accumulate.
You don’t need to deep clean the floors right now, just a quick pass to make sure they look fresh.
- For Carpet: Quickly vacuum the high-traffic areas, giving special attention to visible dirt or crumbs.
- For Hard Floors: Sweep or use a quick-dry mop. Focus on areas where dust bunnies tend to gather, like corners or under furniture.
If you have time, do a quick run over the rest of the home, but the key here is to hit the most visible spots.
Tip: If you’re using a vacuum, a handheld or cordless one can help you save time and get into tight spaces like corners or between furniture.
Step 5: Make the Beds (2 minutes)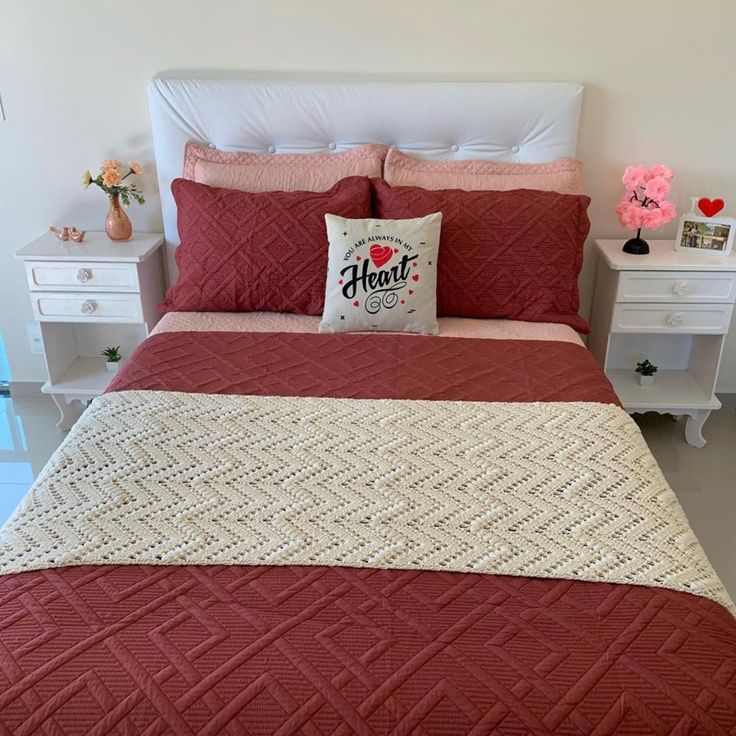
Even if your whole house is a mess, making the beds in your bedrooms can immediately transform the feel of a room. A neatly made bed can make any space feel more put-together and inviting.
All it takes is a quick pull of the duvet or a fluff of the pillows, and your bedroom will look a lot more like a sanctuary.
If you have kids, try to get them involved by having them help make their beds — it’s an easy task they can do in just a minute or two.
Tip: Keep extra sets of sheets handy for a super quick change if you have time. A freshly made bed is a small but powerful way to make a room look instantly cleaner.
Step 6: Quick Clean of the Kitchen Sink (2 minutes)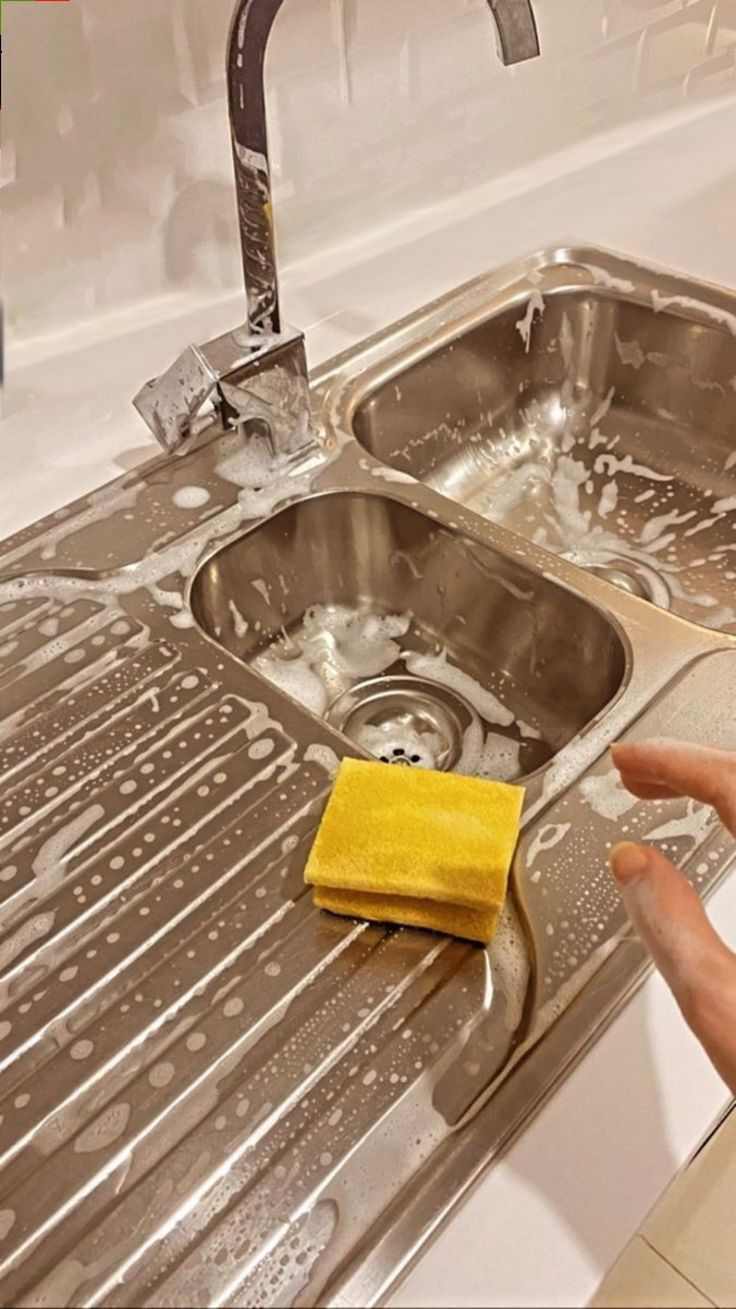
The kitchen sink is one of the most noticeable areas in your kitchen, so a quick clean can make a huge difference. Scrub away any visible spots of food residue and rinse out the sink.
Wipe around the edges with a cloth to ensure it looks pristine. If you have time, a quick shine with a non-toxic cleaner can make your sink sparkle.
If you have a dishwasher, make sure to run it while you’re cleaning so it’s out of sight by the time your 20 minutes are up.
Tip: Keep a small bottle of dish soap or all-purpose cleaner next to the sink for a quick touch-up when needed.
Step 7: Final Touches (2 minutes)
After spending the majority of your 20 minutes cleaning, it’s time for some finishing touches to make your home feel even more polished. These little touches can go a long way in making your home feel welcoming:
- Light Candles or Diffuse Essential Oils:
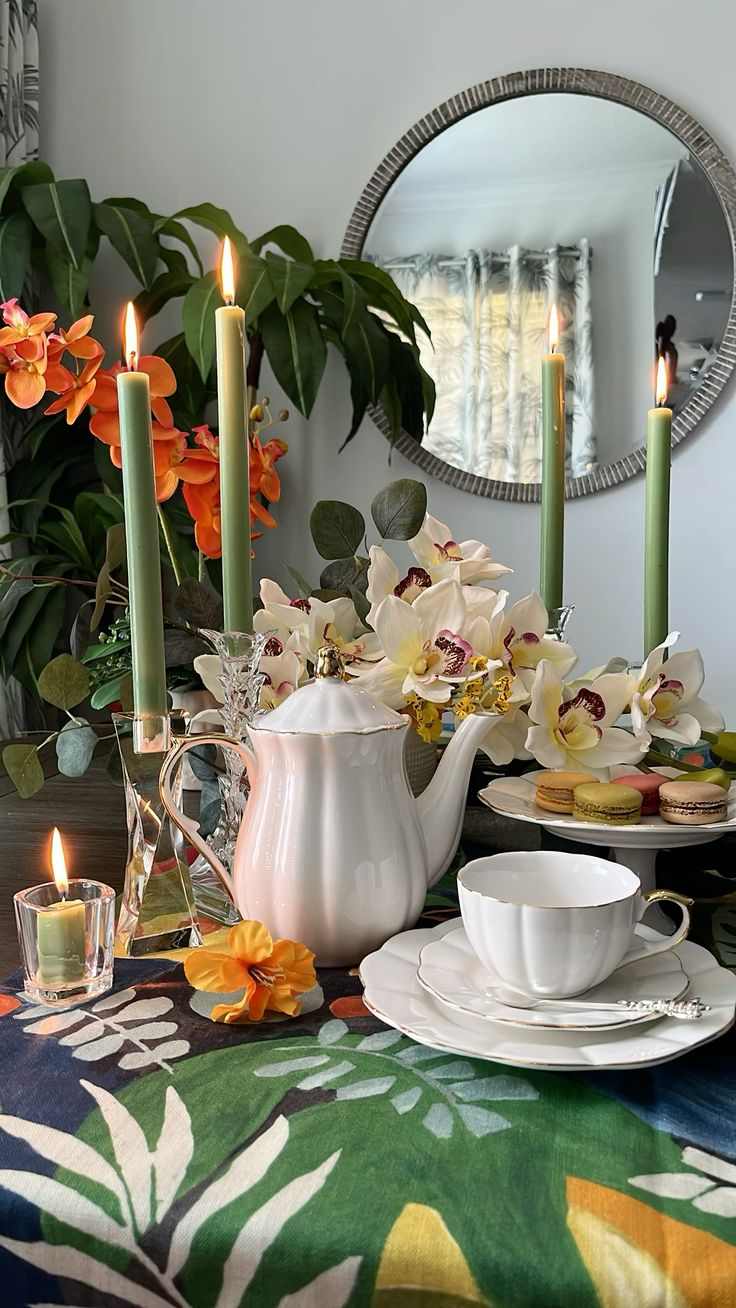
Adding a pleasant scent to the air can elevate the entire cleaning process.
- Fluff Pillows and Throw Blankets:

These small touches can make your living areas look instantly inviting.
- Add Fresh Flowers:

If you have any fresh flowers or greenery, place them in a visible area to add life to your space.
Tip: If you have a few extra minutes, quickly vacuum any rugs or mats that may have accumulated crumbs or dirt.
With this 20-minute speed cleaning routine, you can transform your entire home without feeling like you’re cleaning for hours. The key is to focus on high-impact areas, tackle visible messes, and add small touches that make a big difference.
By following this routine regularly, you’ll keep your home looking fresh, even on your busiest days.
Remember, this isn’t about perfection; it’s about creating a space that feels clean, organized, and ready for guests, all in a fraction of the time you’d expect.
So the next time you have a limited amount of time but still want a spotless home, simply follow this routine, and you’ll be amazed at the results!
You should also read: